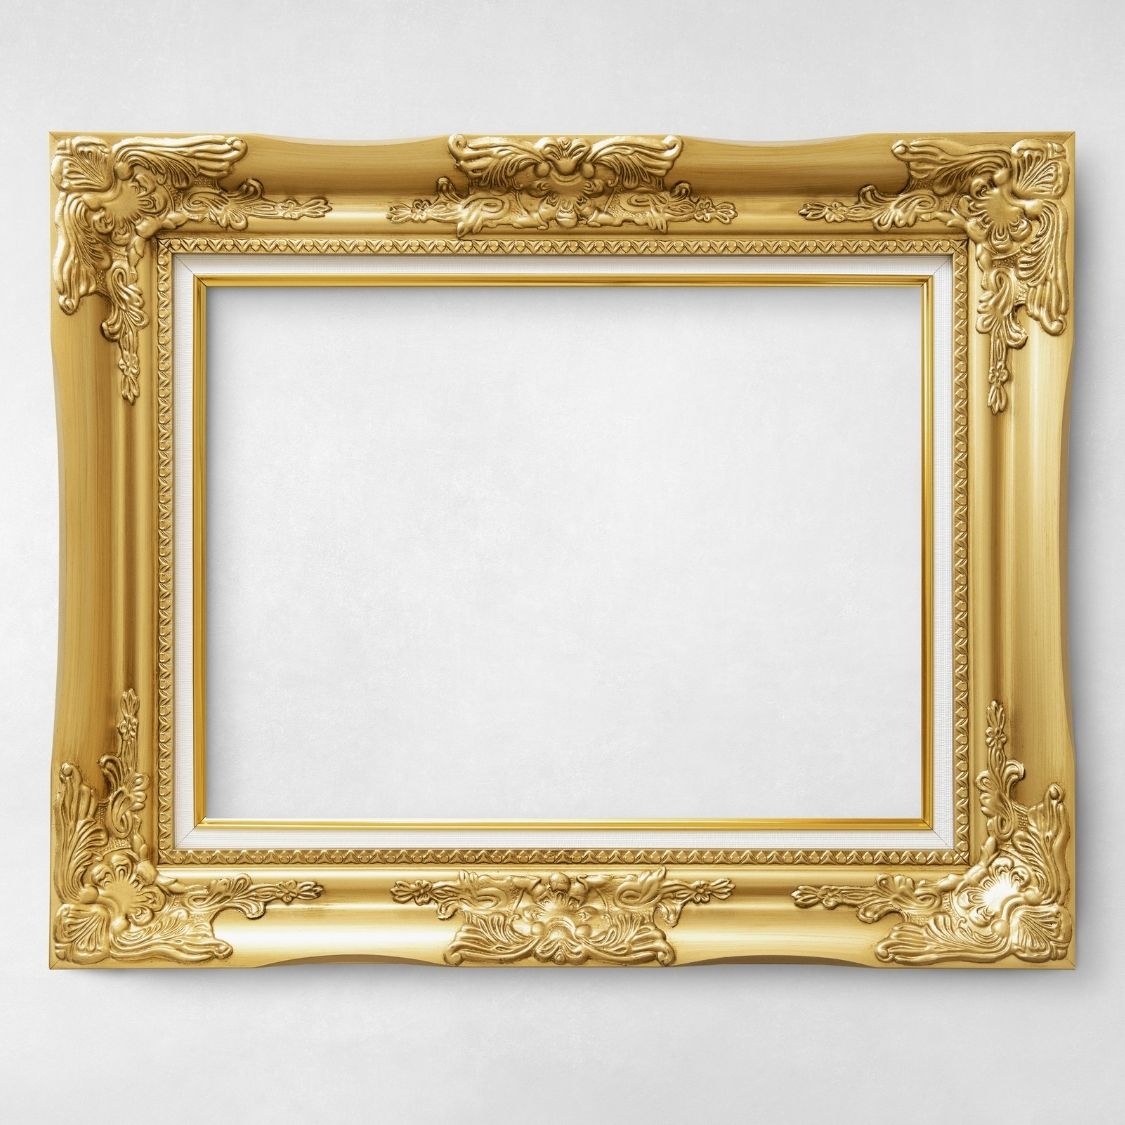
Antique restoration is an exciting and rewarding hobby, even if your projects are small and inconspicuous. Discover the process for how to repair and restore vintage picture frames so that you can understand the process for creating something beautiful out of these unlikely pieces.
Give It a Good Clean
Like any other restoration you’d do, it’s always a good idea to ensure that you’re starting with a clean slate. So, before you start messing with the more intricate parts of your frame, you’ll want to give it a thorough but gentle dusting.
Most people prefer to do this with a dry, clean paintbrush. However, any instrument with soft, gentle bristles will do. Use extreme caution when dusting around any cracks or chips. Doing this will help you avoid damaging the frame’s original face.
Then, you’ll want to gently clean the frame with a special solvent or cleaning fluid and wipe the frame with a towel or cloth. These cleaning agents are formulated to cut through grease and remove glue or stains from the face of your frame without damaging it.
Take It Apart and Clean Again
Perhaps the most detail-oriented aspect of how to repair and restore vintage picture frames is the part of the process where you must take the frame apart. You’ll want to start by loosening the joints of your structure. If the joints are already loose, you can use a rubber mallet to tap them apart gently.
Or, if they’re still sturdily secured to the frame, you can use pliers to remove them with care. You’ll also want to remove staples from your frame or V-nails if you see them. Afterward, look for any glue or sticky residue on the edges.
Then wipe it down with a gentle, diluted vinegar mixture, as it will dissolve what’s left of the adhesive. But be cautious about using acidic substances on a frame with any finish on it, as it could potentially damage the structure.
Reassemble With Care
Once your frame is completely disassembled and sparkling clean, it’s time to reassemble it. And because you’re likely working with a significantly older frame, it’s wise to proceed to reassemble it with great caution. First, use a carpenter’s glue to rebuild the structure of the frame at each corner. You can use a small tool, such as a toothpick or brush, to apply the glue more precisely.
Once you start pasting the structure back together, you might see some excess goop spilling over onto the front side of the frame. Ensure that you wipe it off before it dries. Then, you’ll want to strap the structure in the corners using a belt or band that wraps snugly around each corner.
Next, it’s wise to check the angles and overall shape of the frame to ensure it isn’t crooked and that it’ll hold your pictures or art. And finally, once the glue is completely dry, it’s prudent to reinforce the frame with new nails or staples.
Hammer them gently into the frame’s corners so that they pierce through both pieces of wood but without protruding from either side of the frame. And there you have it: a fully restored vintage picture frame that will give any room a captivating vintage look!
Vintage picture frames are a quick and easy project if you’re looking for pieces to restore. So when the time comes to embark on repairing one, we hope you’ll refer to this guide to gain some insight into how to make an old frame look like new again.


